The rise of decentralized finance (DeFi) and tokenization has reshaped the global financial ecosystem. Cryptographic tokens—unlike standalone cryptocurrencies with native base-layer blockchains (such as Bitcoin or Solana)—are deployed on top of existing smart-contract platforms.
For developers looking to launch tokens, Solana has emerged as a premier ecosystem. Leveraging a unique consensus mechanism known as Proof of History (PoH) combined with the parallel processing capabilities of the Sealevel runtime, Solana offers transaction fees of less than a fraction of a cent and sub-second confirmation times.
This technical guide provides a step-by-step walkthrough for setting up a secure, CLI-only Debian Linux environment, compiling Rust-based blockchain dependencies, minting a custom Solana Program Library (SPL) token, and understanding both legacy and modern token metadata standards.
Update Note (May 19, 2026): Solana Labs has since deprecated and archived the GitHub-based
token-listrepository mentioned in this guide. Token metadata is now handled directly on-chain via Metaplex. Because of this migration, legacy tokens like HSKY that weren't updated to the new on-chain standard are no longer indexed by Solscan, but the underlying blockchain concepts remain exactly the same!
Architecture & System Prerequisites
For security and reproducibility, we build this token architecture within a minimal Debian Linux CLI-only virtual machine. Eliminating graphical user interfaces (GUIs) reduces the system's attack surface and ensures maximum cryptographic isolation.
Required Software & Platforms
- Forensic / Minting OS: Debian Linux (CLI-only installation)
- Version Control: GitHub (to host initial repository assets)
- Liquidity Gateway: Binance (or any regulated exchange to acquire gas tokens)
- Client Wallets: Phantom Wallet (browser-based) and Solflare (mobile/hardware interface)
Important: Creating accounts and executing transactions on the Solana network requires gas. You must acquire a small fraction of SOL tokens to cover transaction fees.
Step-by-Step CLI Execution & Minting
1. Provisioning the CLI Workspace
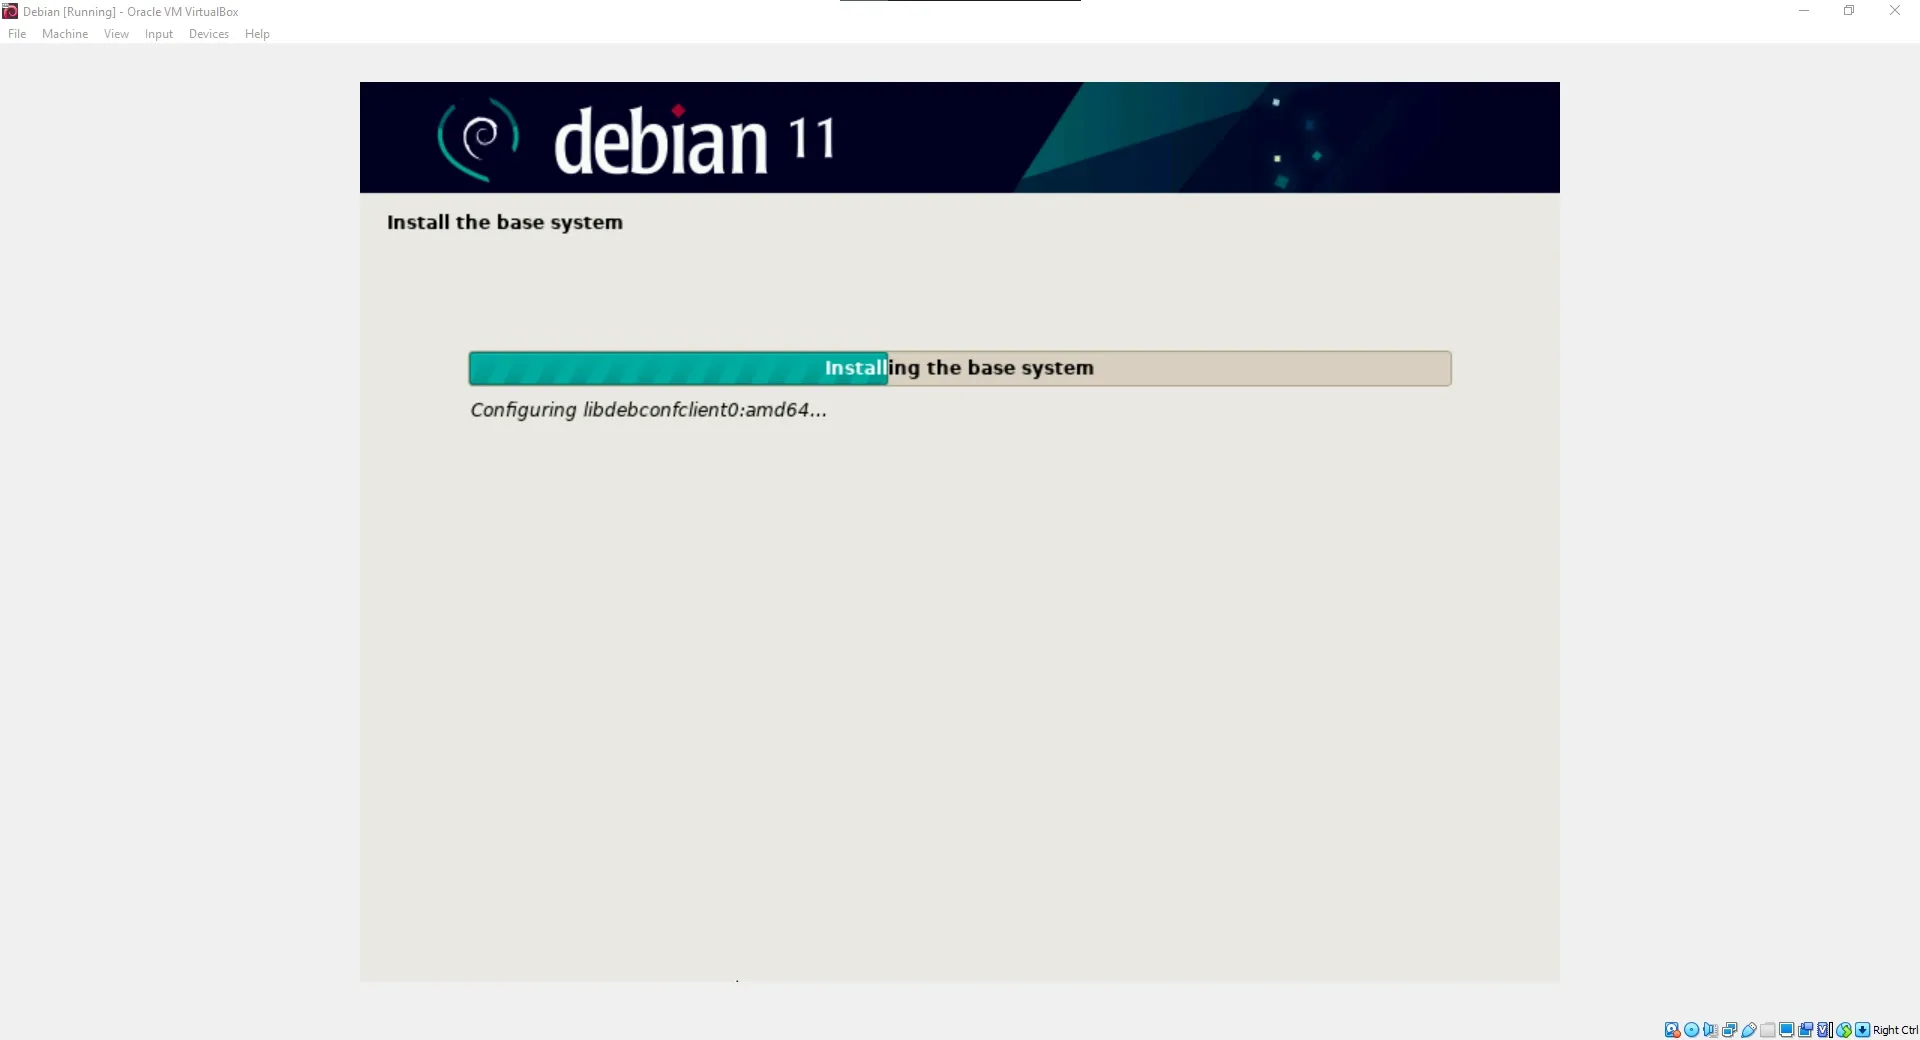
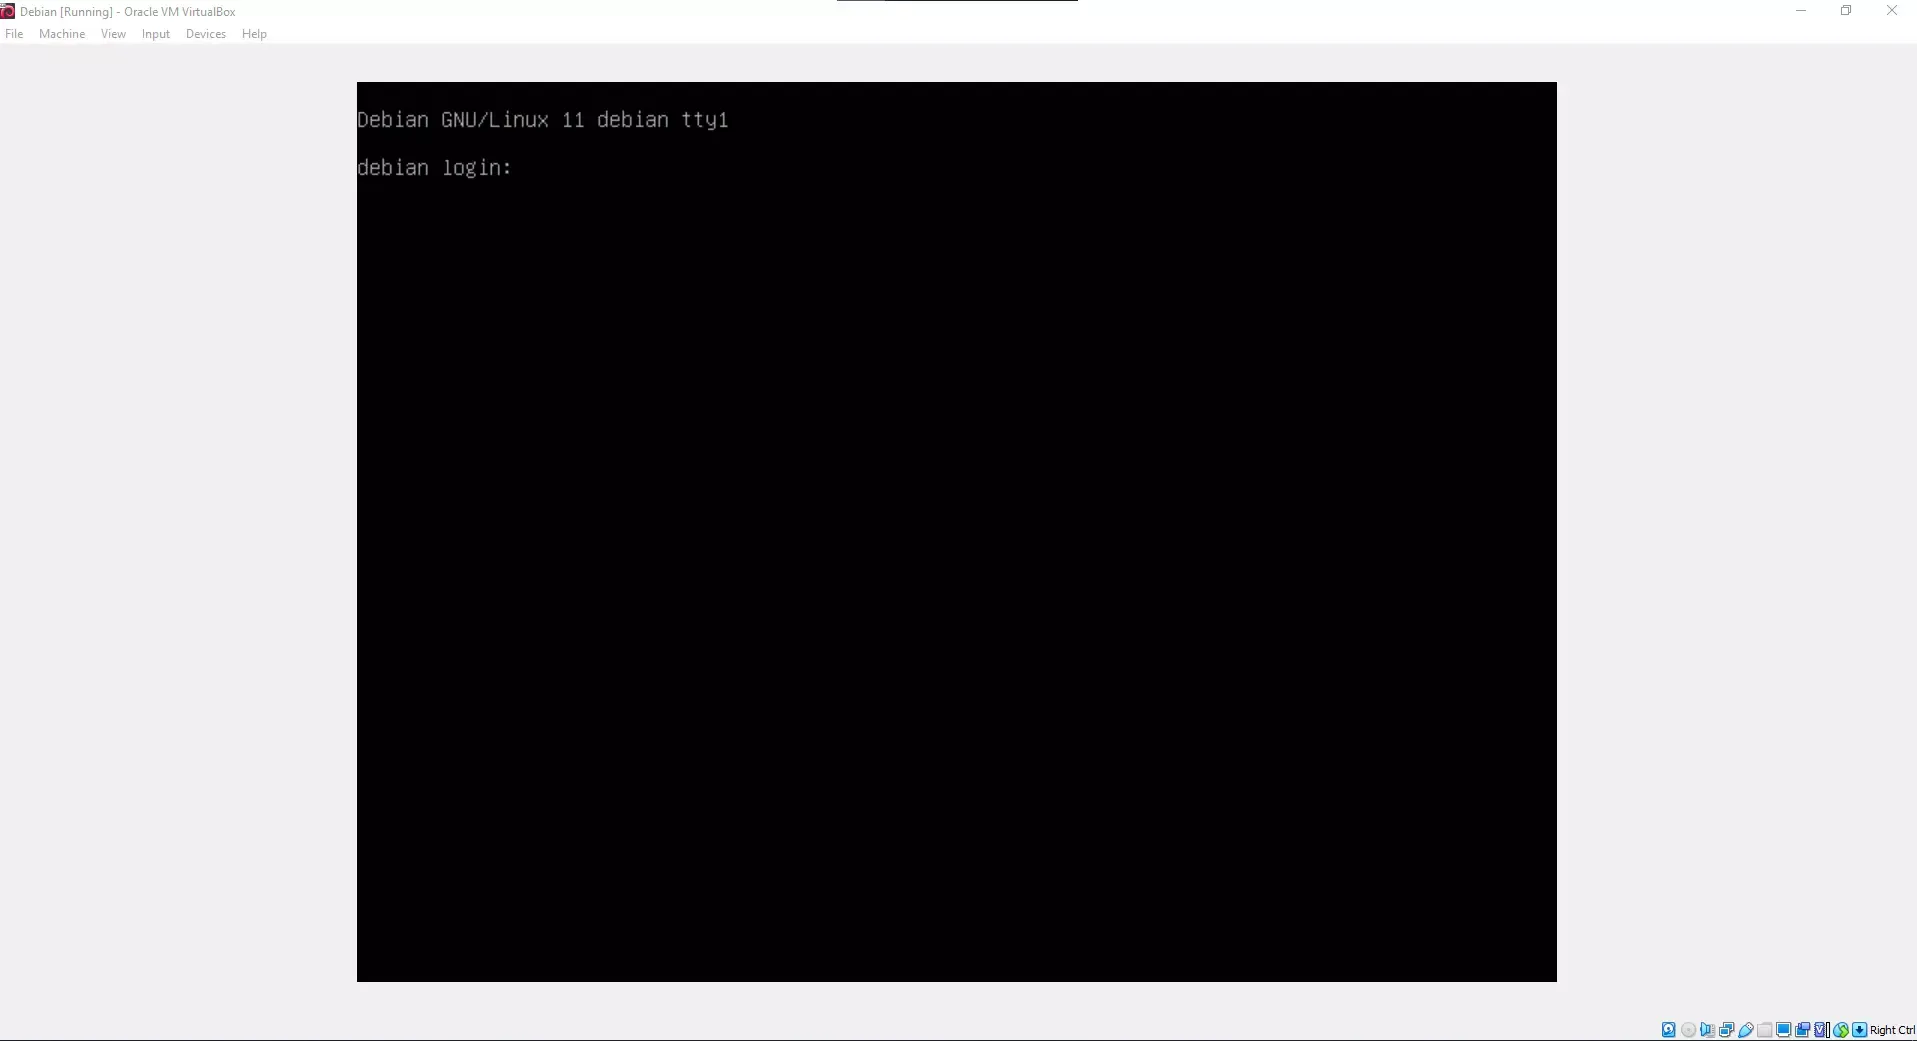
Install a clean, minimal Debian Linux operating system in a virtual environment. The figures below illustrate a successful minimal Debian system boot:
Once logged into your CLI console, synchronize your local package index and upgrade all base system packages:
sudo apt update
sudo apt upgrade -y
2. Installing the Solana Tool Suite
To interface directly with the Solana ledger, install the official Solana CLI binaries:
sh -c "$(curl -sSfL https://release.solana.com/v1.8.5/install)"Once the installation script completes, refresh your active shell environment variables by exiting the session and logging back in, or running:
source ~/.profile3. Cryptographic Keypair Generation
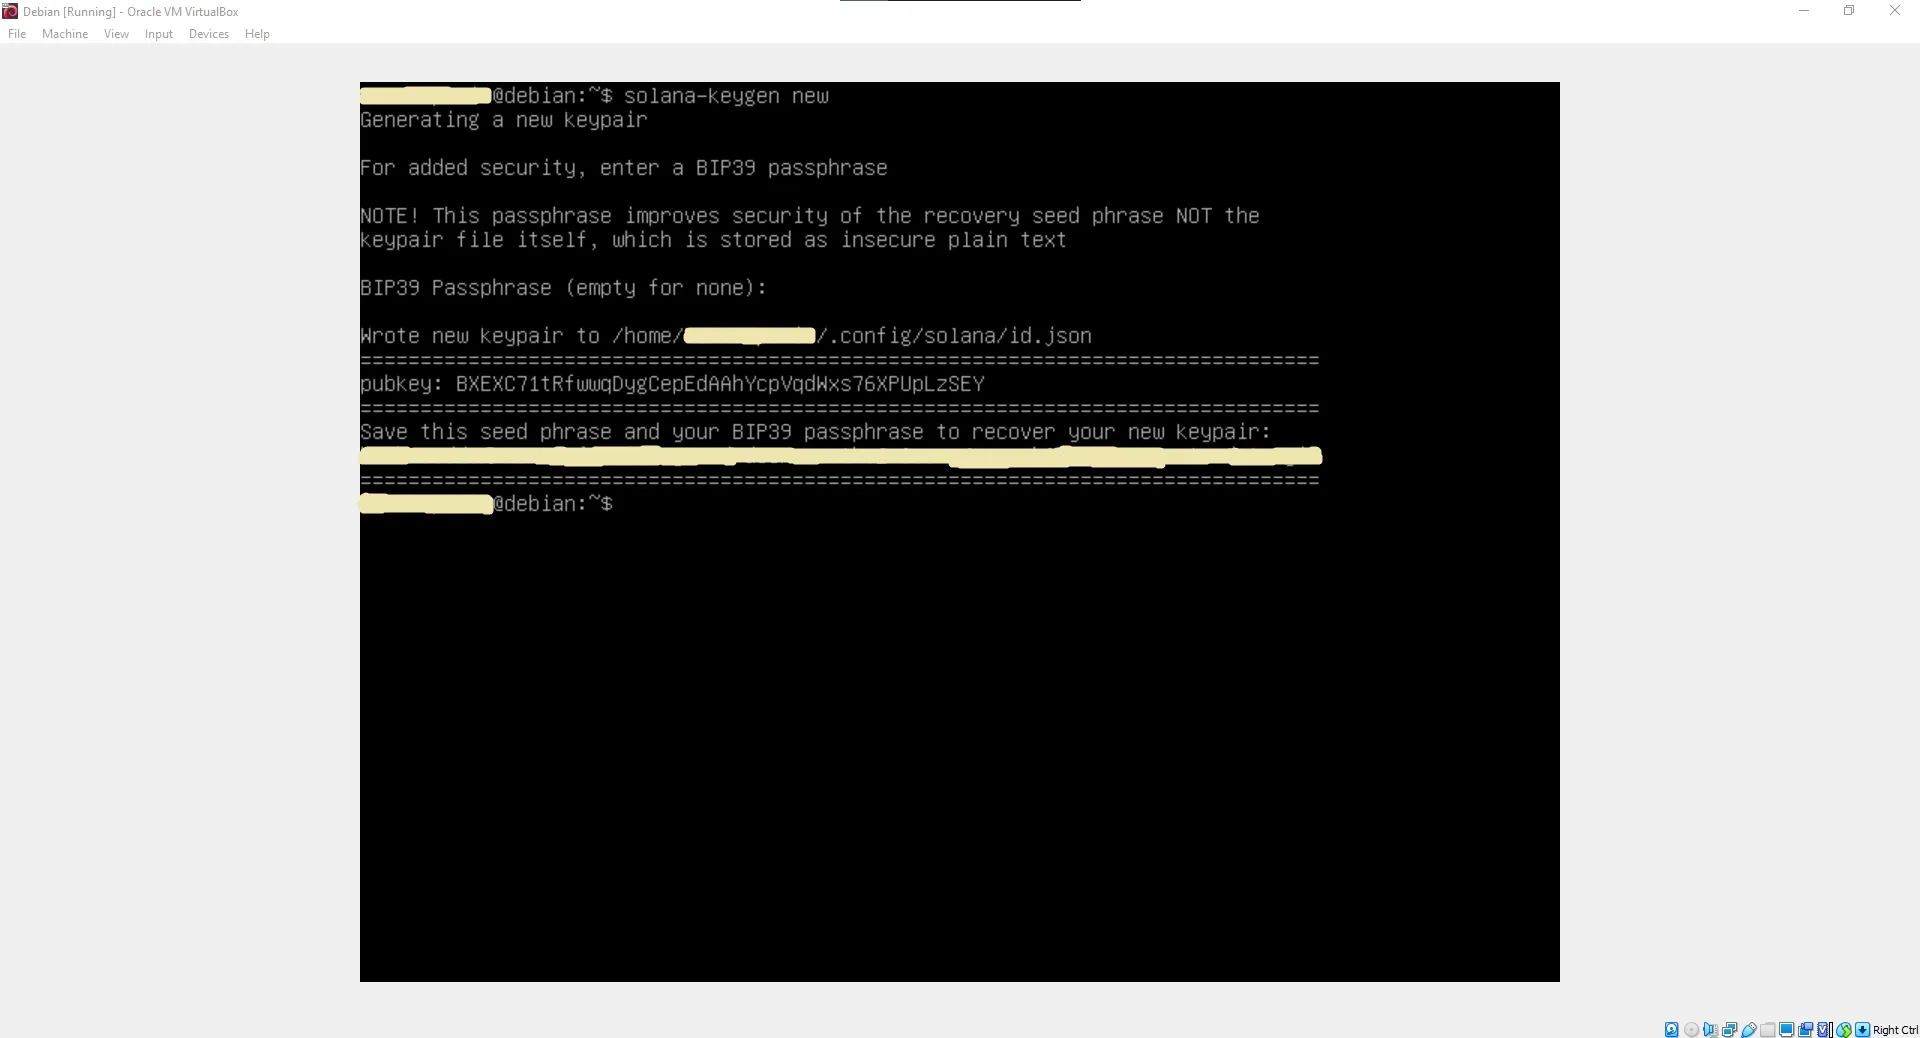
Every wallet on the Solana network is represented by an asymmetric cryptographic keypair consisting of a public key (wallet address) and a private key (granting spending permissions). Generate a new local keypair:
solana-keygen newDuring generation, you will be prompted to enter an optional BIP39 passphrase. Once completed, your public key and a 12-word mnemonic seed phrase will be output.
Warning: Your 12-word seed phrase is the master key to your funds. Write it down offline and secure it. Never share it or store it in plain text.
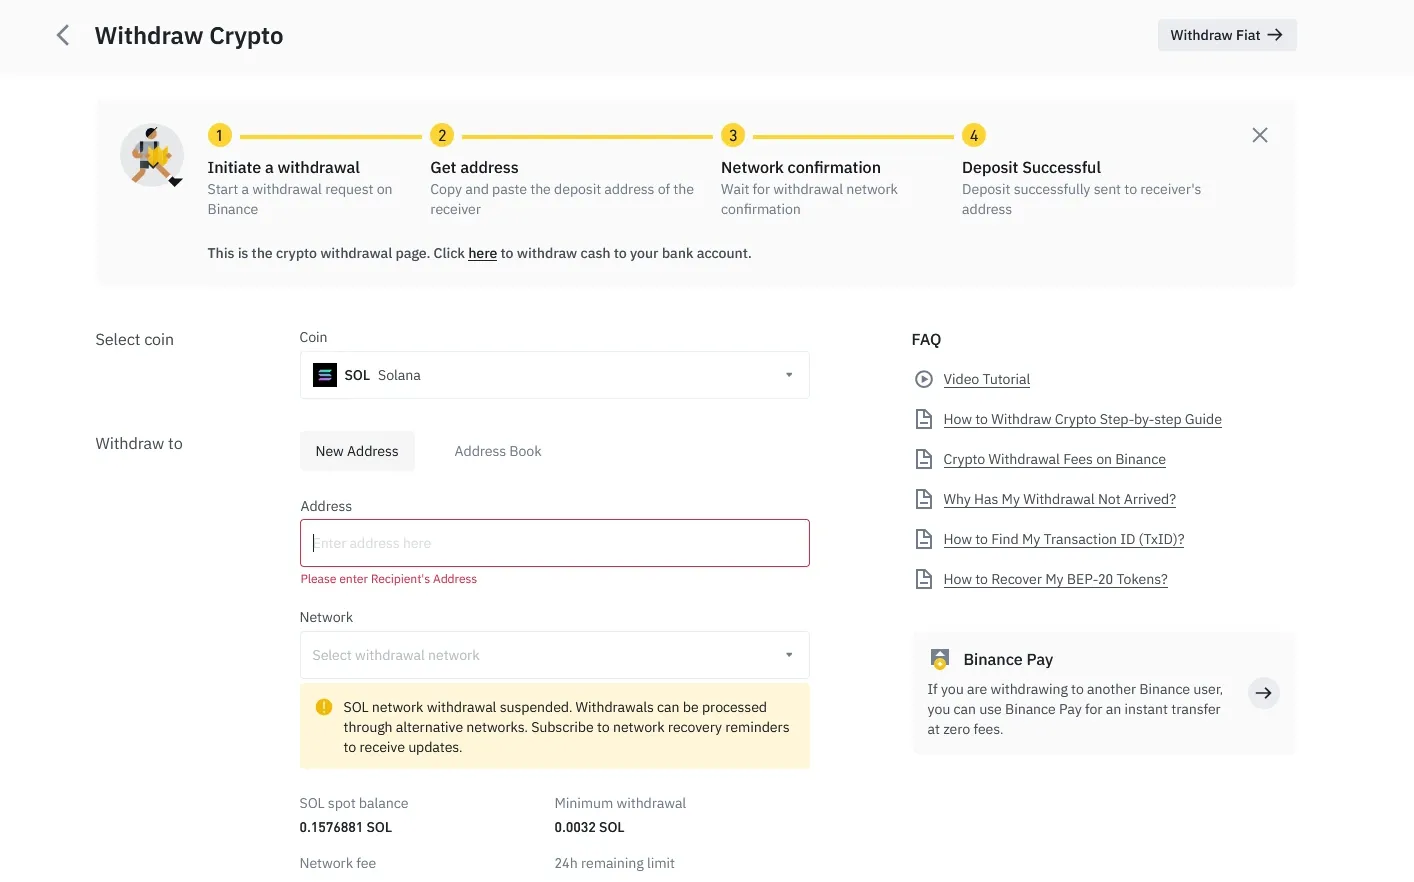
4. Funding the Minting Wallet
To purchase the SOL tokens needed for gas, utilize an exchange like Binance:

After acquiring SOL, execute a transfer from the exchange to your newly generated public key (wallet address):
To verify the transaction has settled and check your active balance directly from your Debian terminal, execute:
solana balance5. Compiling Rust and Developer Libraries
The Solana Program Library (SPL) command-line interface requires the Rust compiler to build local configurations.
Install Rustup and the default Cargo toolchain:
curl https://sh.rustup.rs -sSf | sh(Press 1 when prompted to proceed with the standard installation).
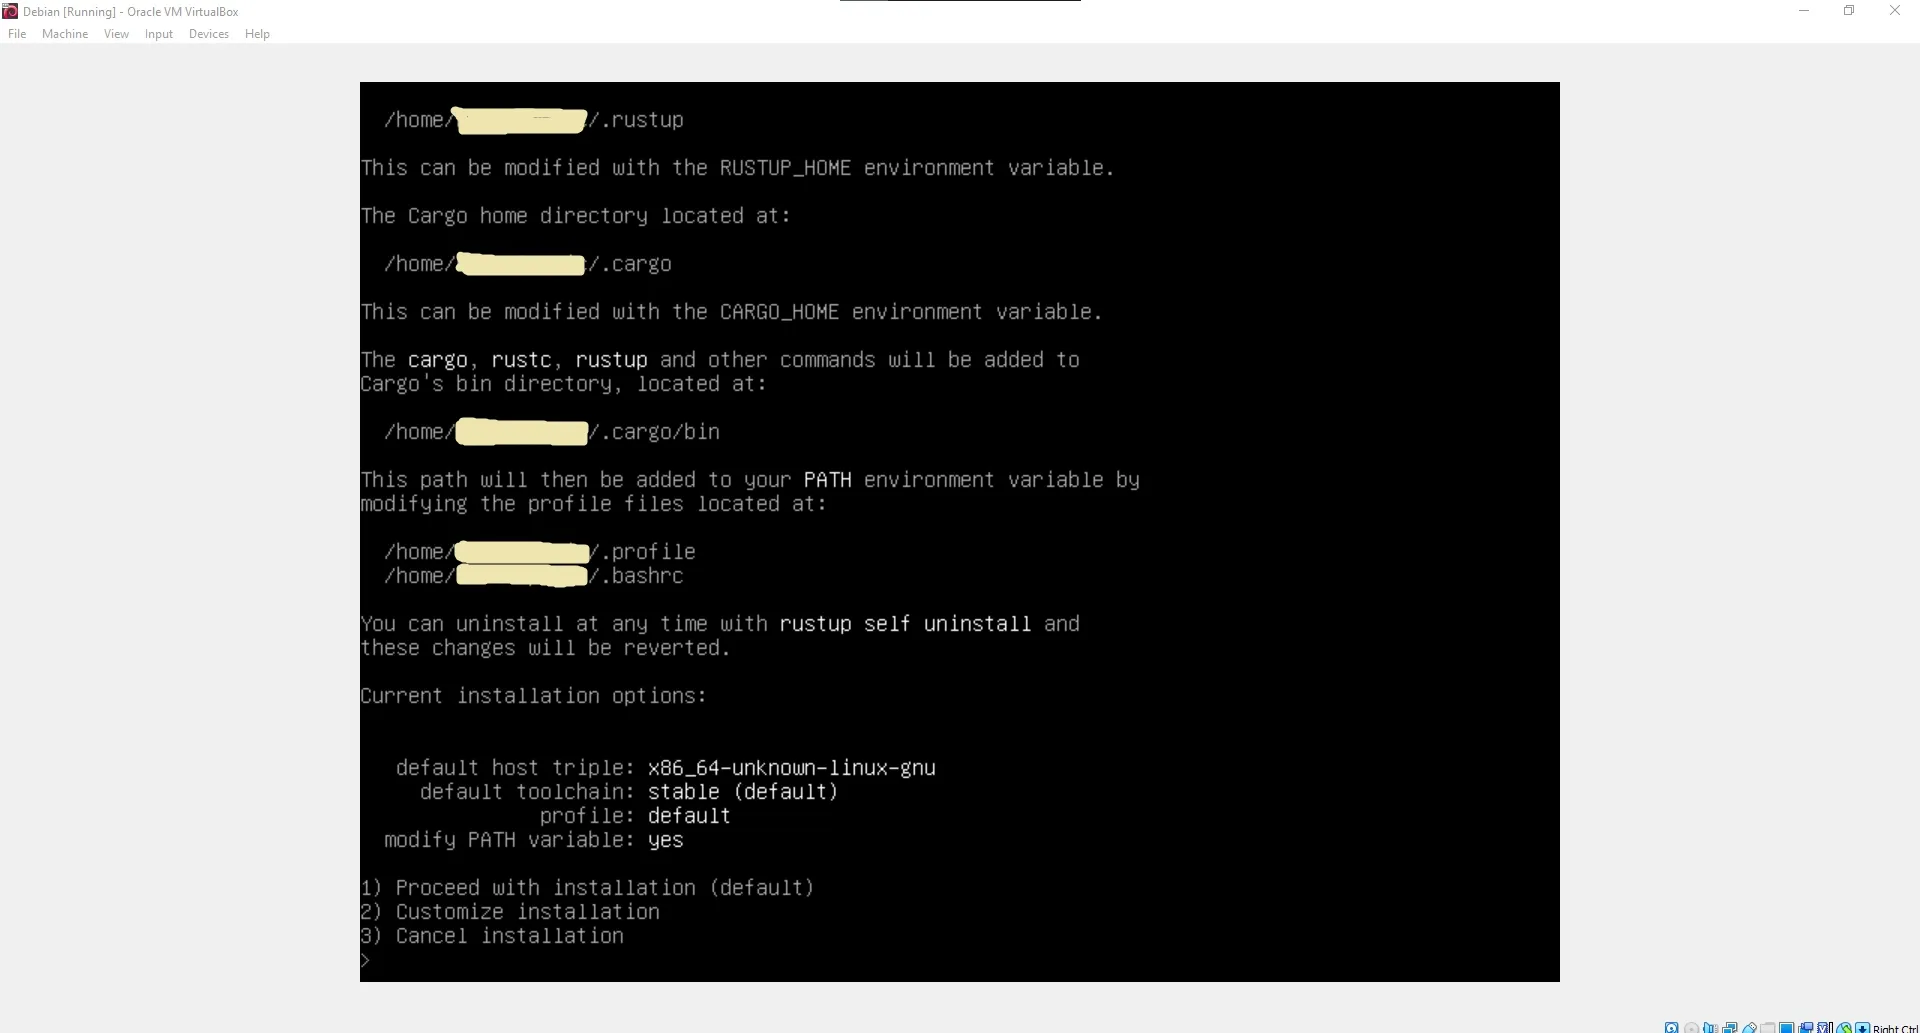
Reload your shell profiles or execute source $HOME/.cargo/env. Next, install the system compiler dependencies:
sudo apt install -y libudev-dev libssl-dev pkg-config build-essentialCompile and install the SPL Token CLI utility globally using Cargo:
cargo install spl-token-cli6. Initializing and Minting the SPL Token
With our tools compiled and our wallet funded, we initialize the custom token registry on the Solana ledger.
Step A: Create the Token Blueprint
Initialize a brand new SPL token mint:
spl-token create-tokenThe terminal will output your unique Token ID (the mint address).
Step B: Establish a Token Account
Before a wallet can hold a specific SPL token, it must establish an Associated Token Account (ATA) tied to that specific mint ID:
spl-token create-account <YOUR_TOKEN_ID>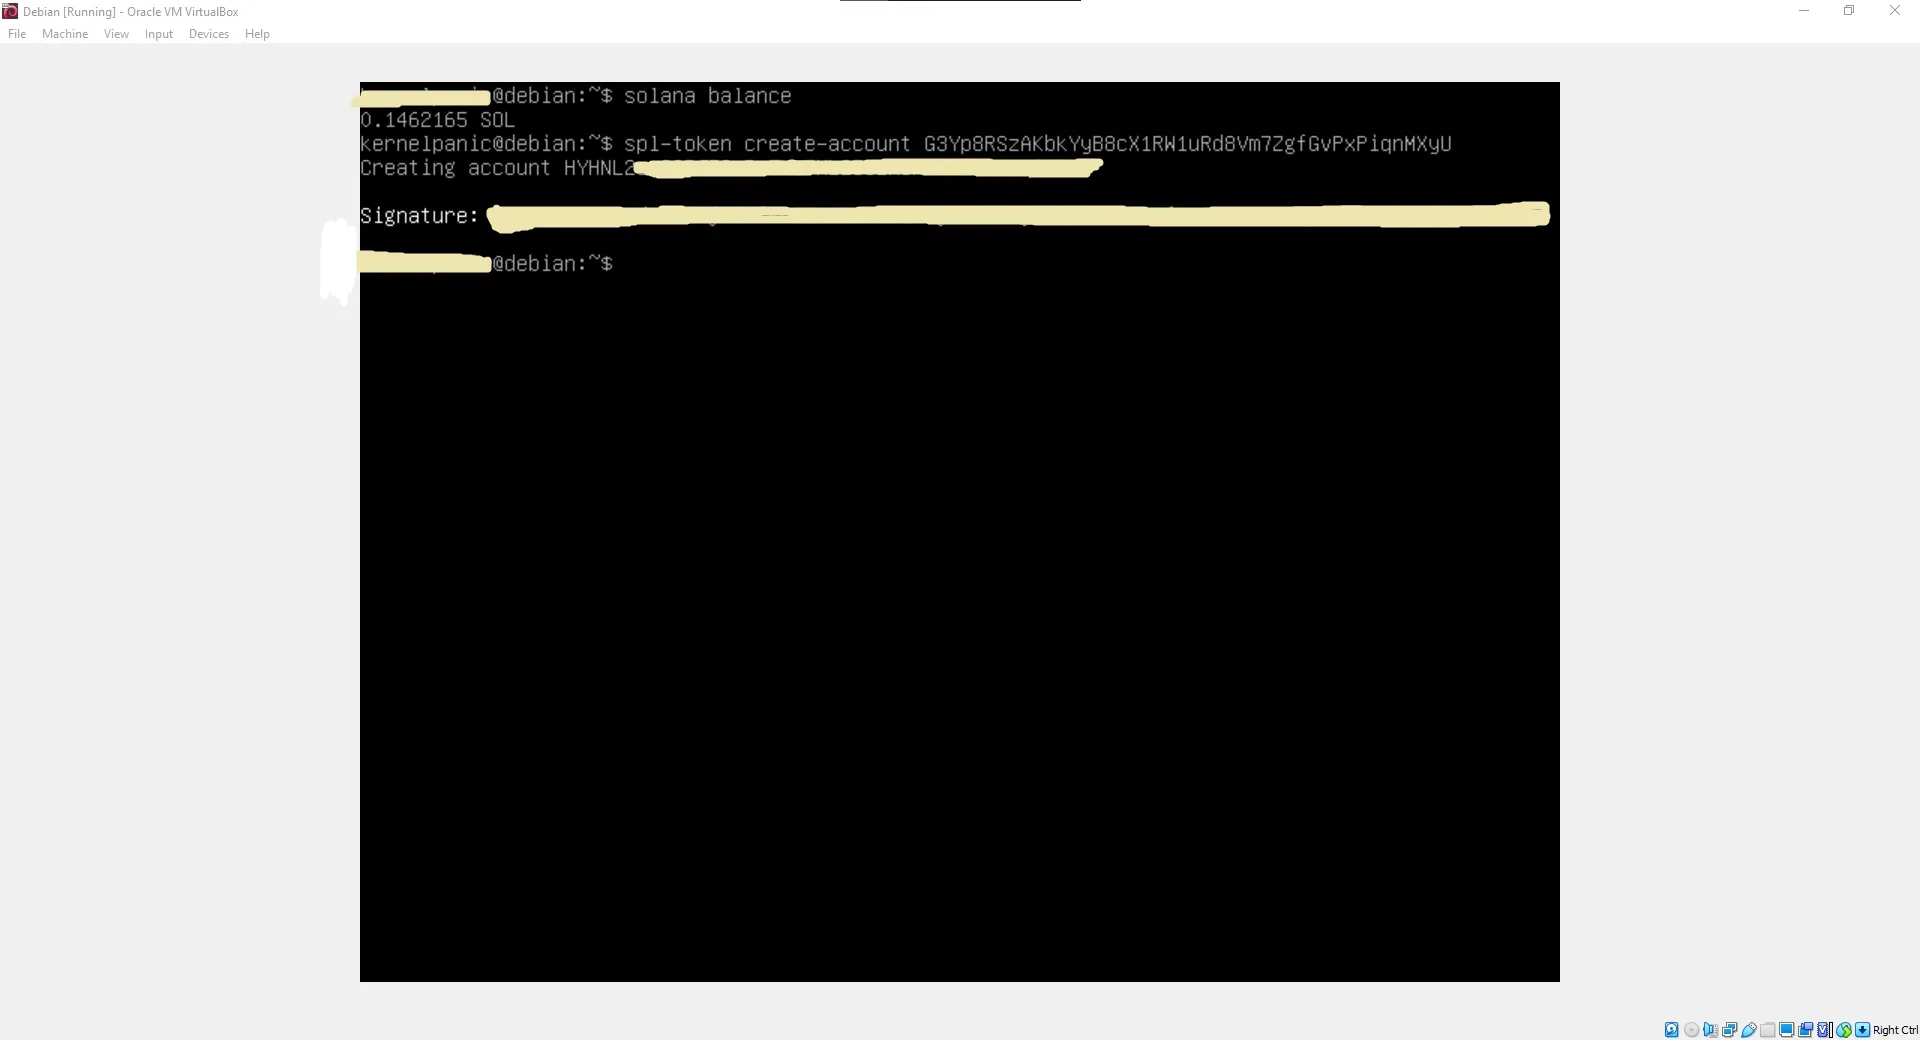
Step C: Minting the Supply
Mint your desired quantity of tokens into your Associated Token Account:
spl-token mint <YOUR_TOKEN_ID> <MINT_QUANTITY> <YOUR_ASSOCIATED_ACCOUNT_ID>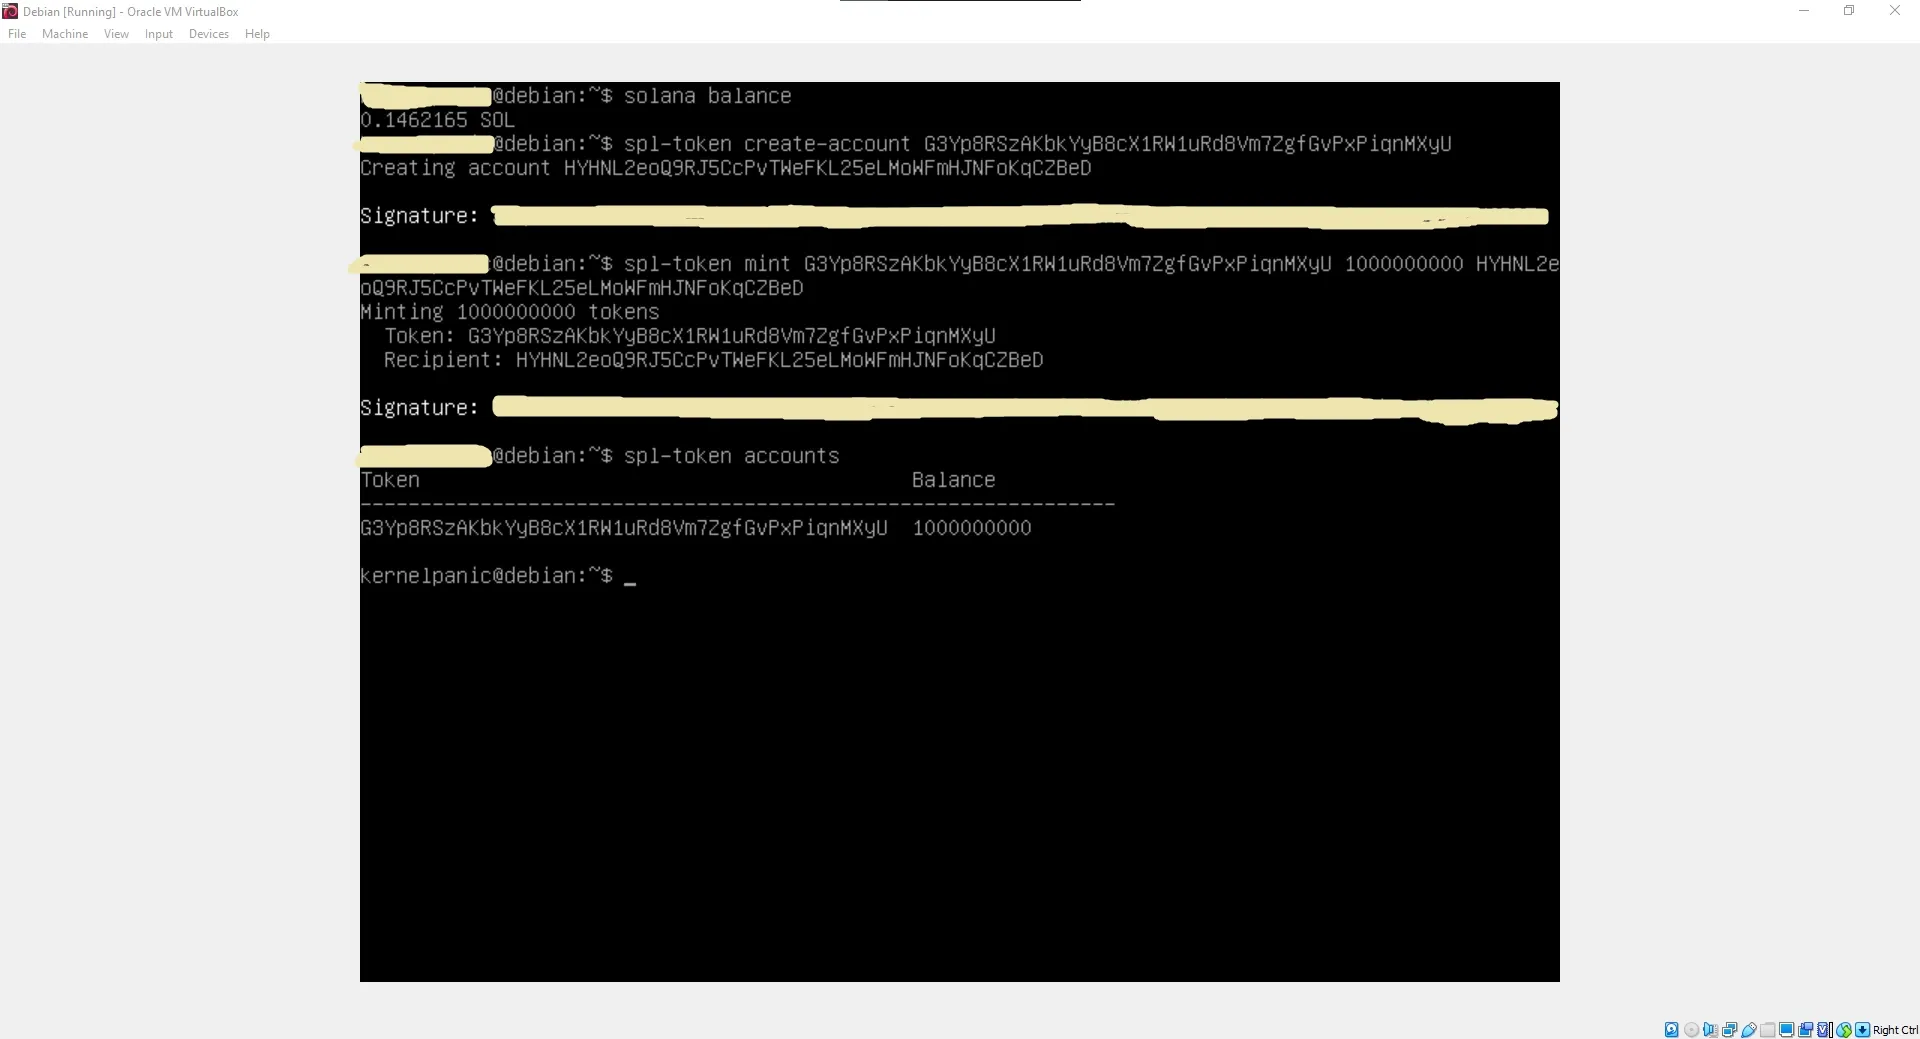
Congratulations! Your custom token is now live on the Solana blockchain.
7. Transferring Tokens to Recipients
To distribute your tokens, the recipient must have a compatible wallet. Solflare is highly recommended for mobile, and Phantom Wallet is ideal for web browsers.
Execute a transfer utilizing the CLI client. The --fund-recipient and --allow-unfunded-recipient flags automatically cover the Associated Token Account creation fee on behalf of the receiver if they do not yet have an account for your token:
spl-token transfer --fund-recipient --allow-unfunded-recipient <YOUR_TOKEN_ID> <TRANSFER_AMOUNT> <RECIPIENT_WALLET_ADDRESS>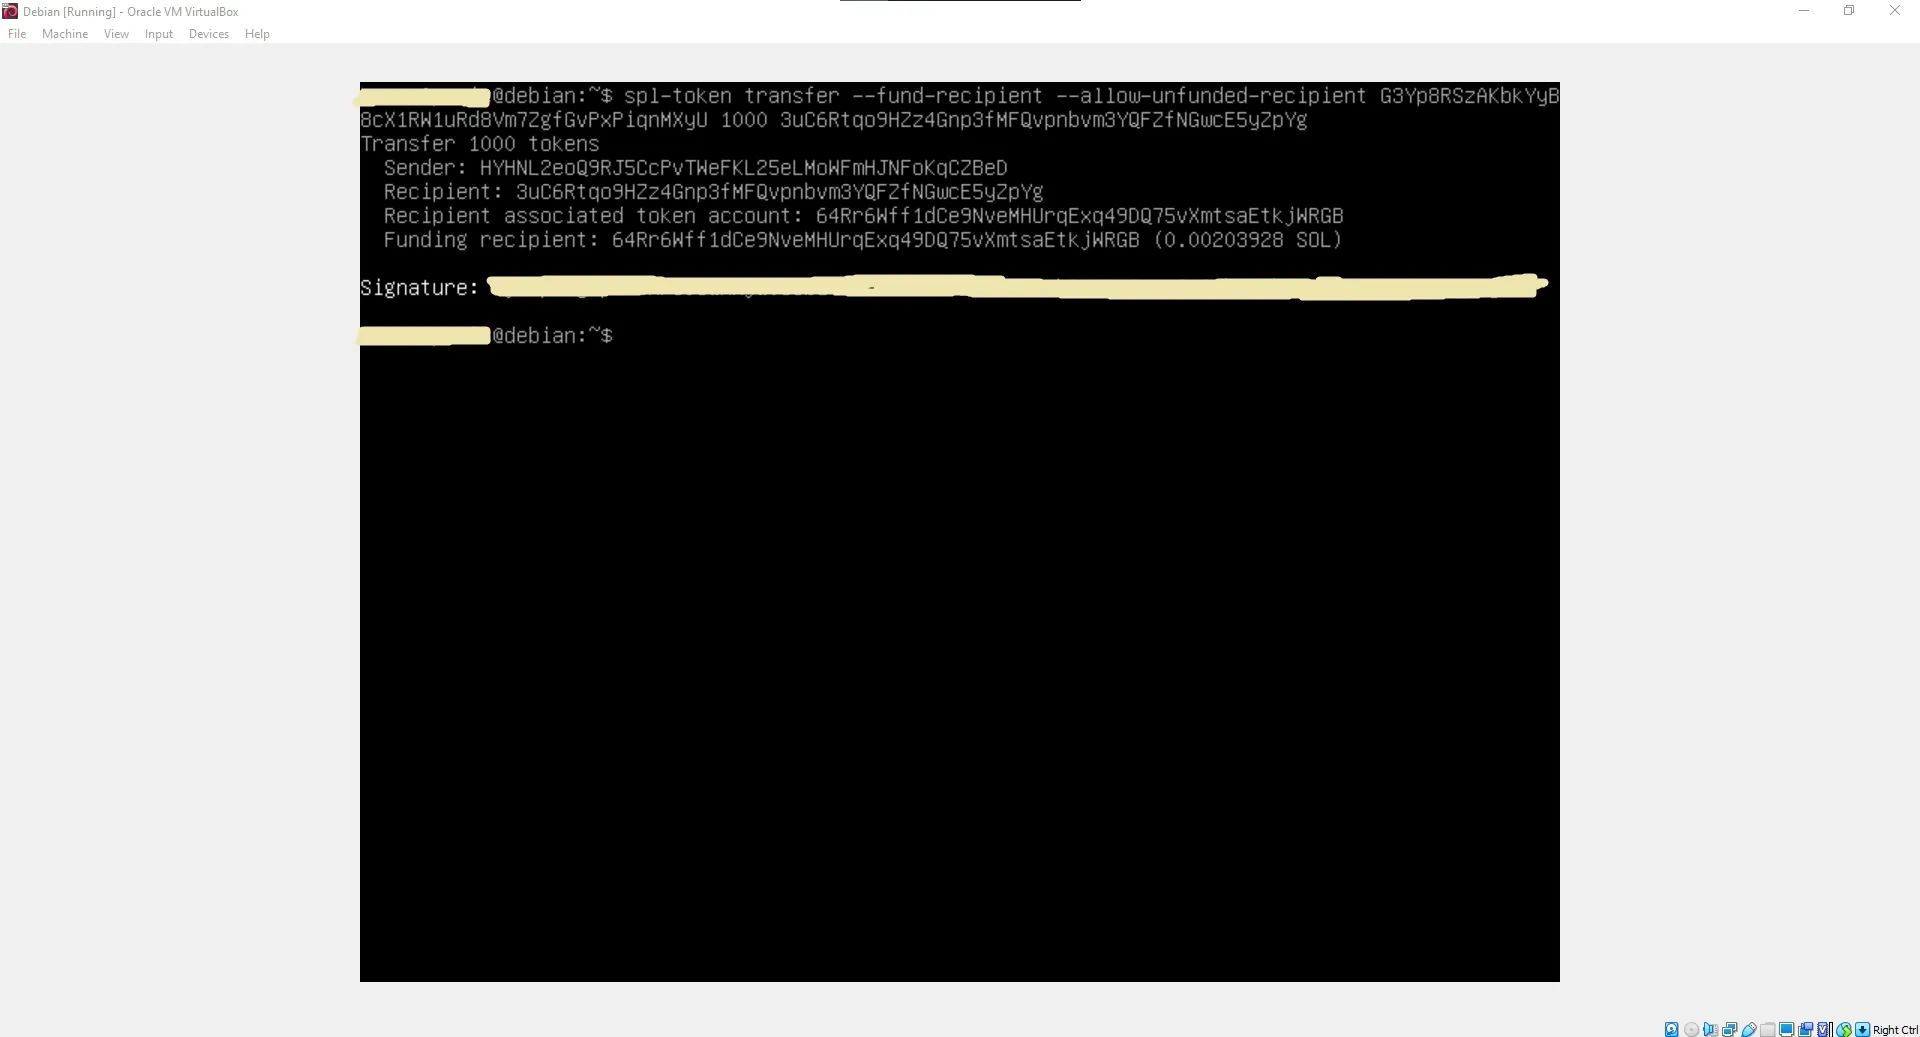
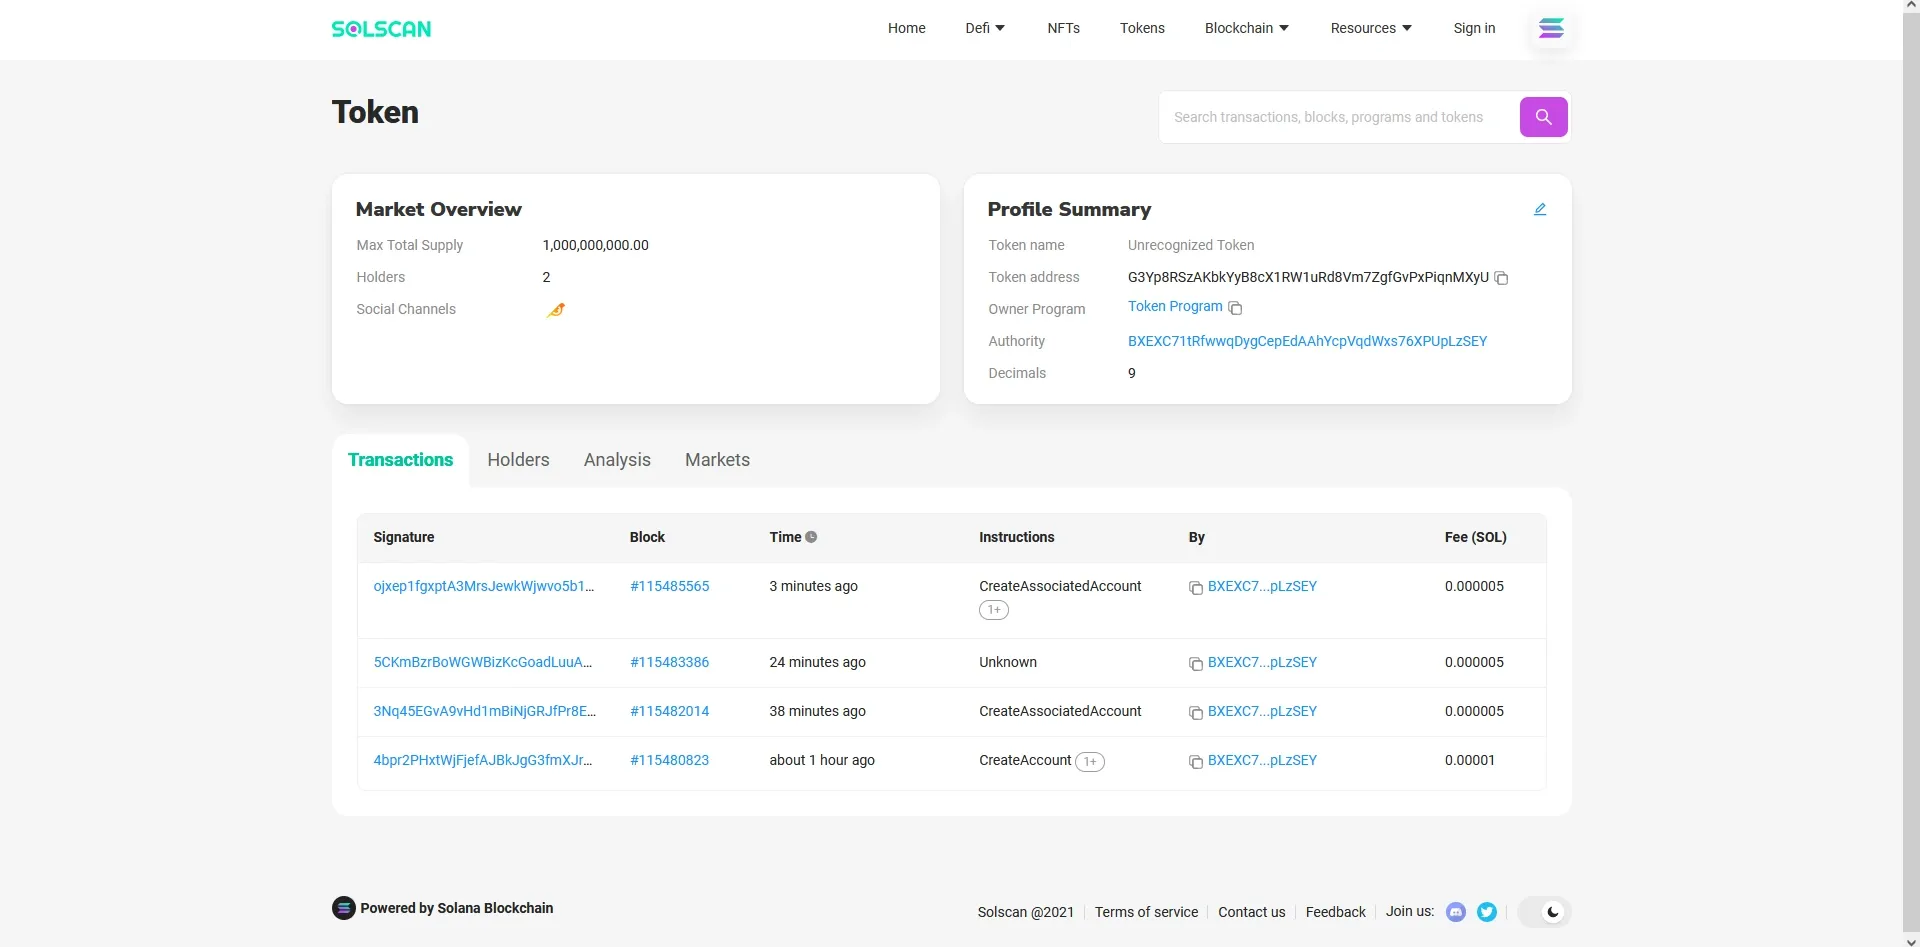
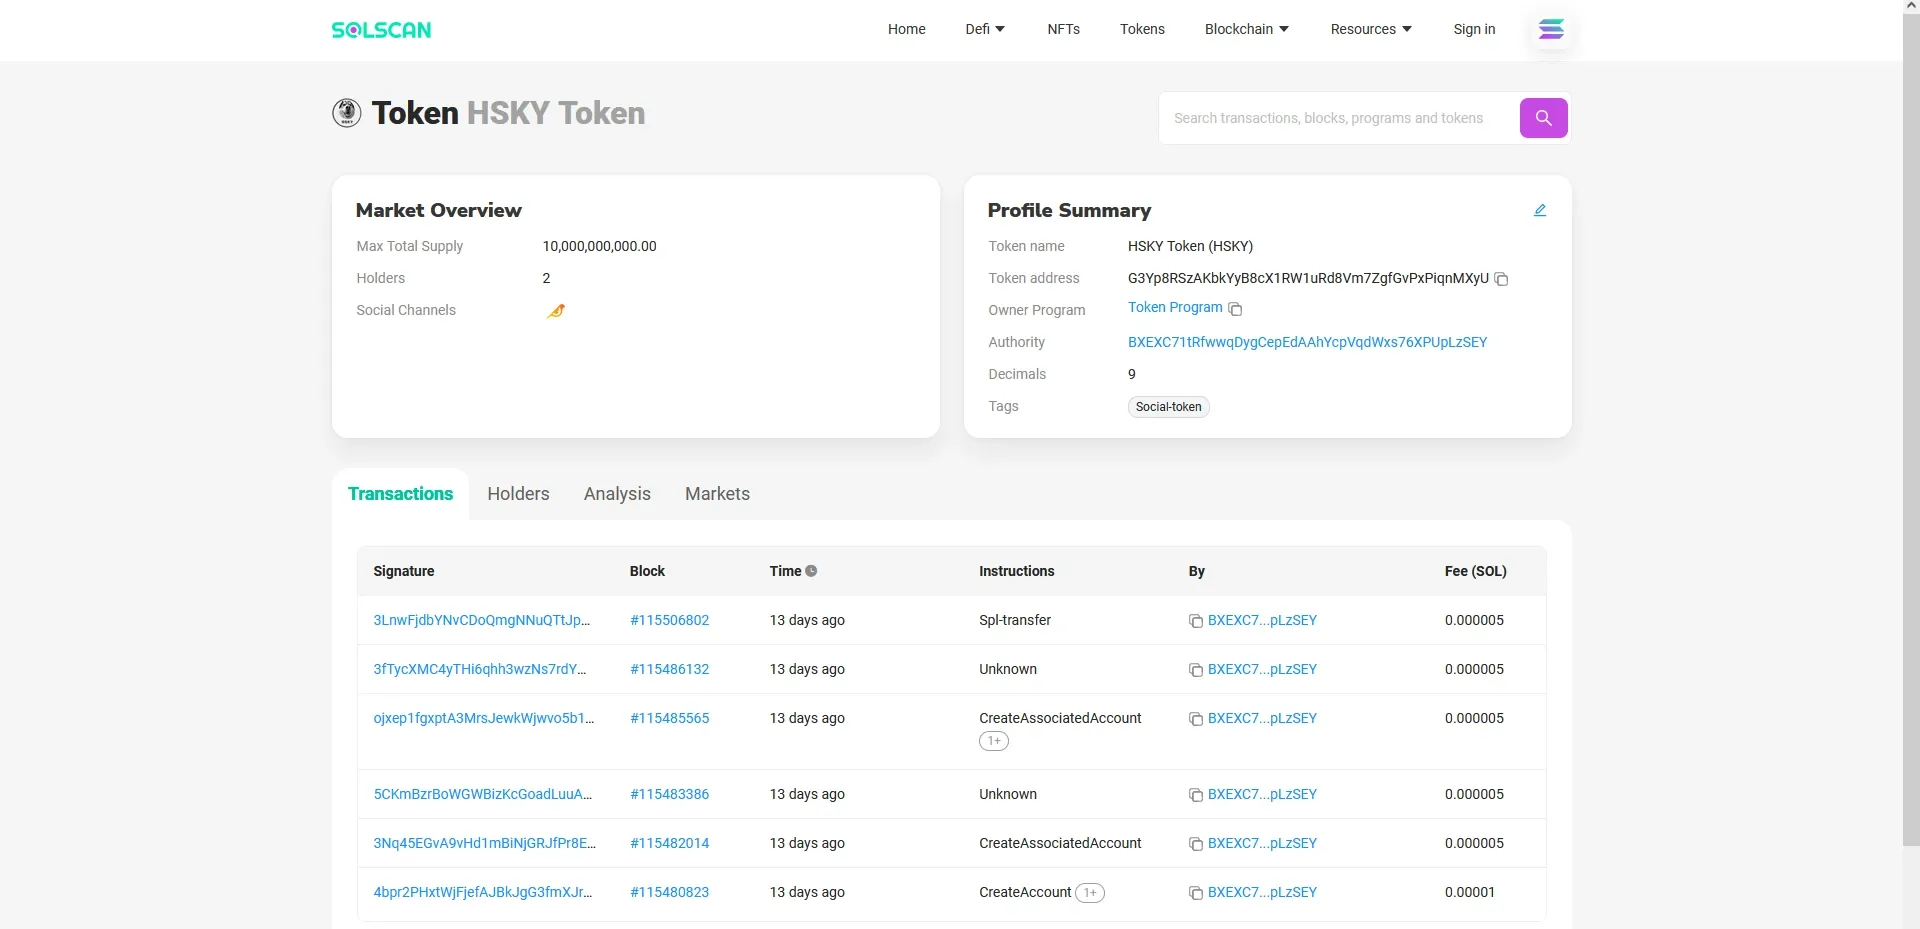
Verifying Transactions on Solscan
Solana transactions can be audited in real-time. Paste your Token ID (mint address) into Solscan to view transaction histories, total supply, and token distribution metrics:
Token Registry: Legacy vs. Modern Metadata Standards
To display your token's logo, symbol, and name across decentralized wallets and explorers, you must register its metadata.
Technical Transition Note: As highlighted in the update warning at the beginning of this guide, the GitHub-based
token-listregistry has been archived in favor of Metaplex. The steps below detail the legacy workflow, providing valuable historical context on how early decentralized registries operated.
The Legacy GitHub Registry Process (Historical Reference)
Previously, Solana utilized a centralized, GitHub-backed repository to map token addresses to metadata assets.
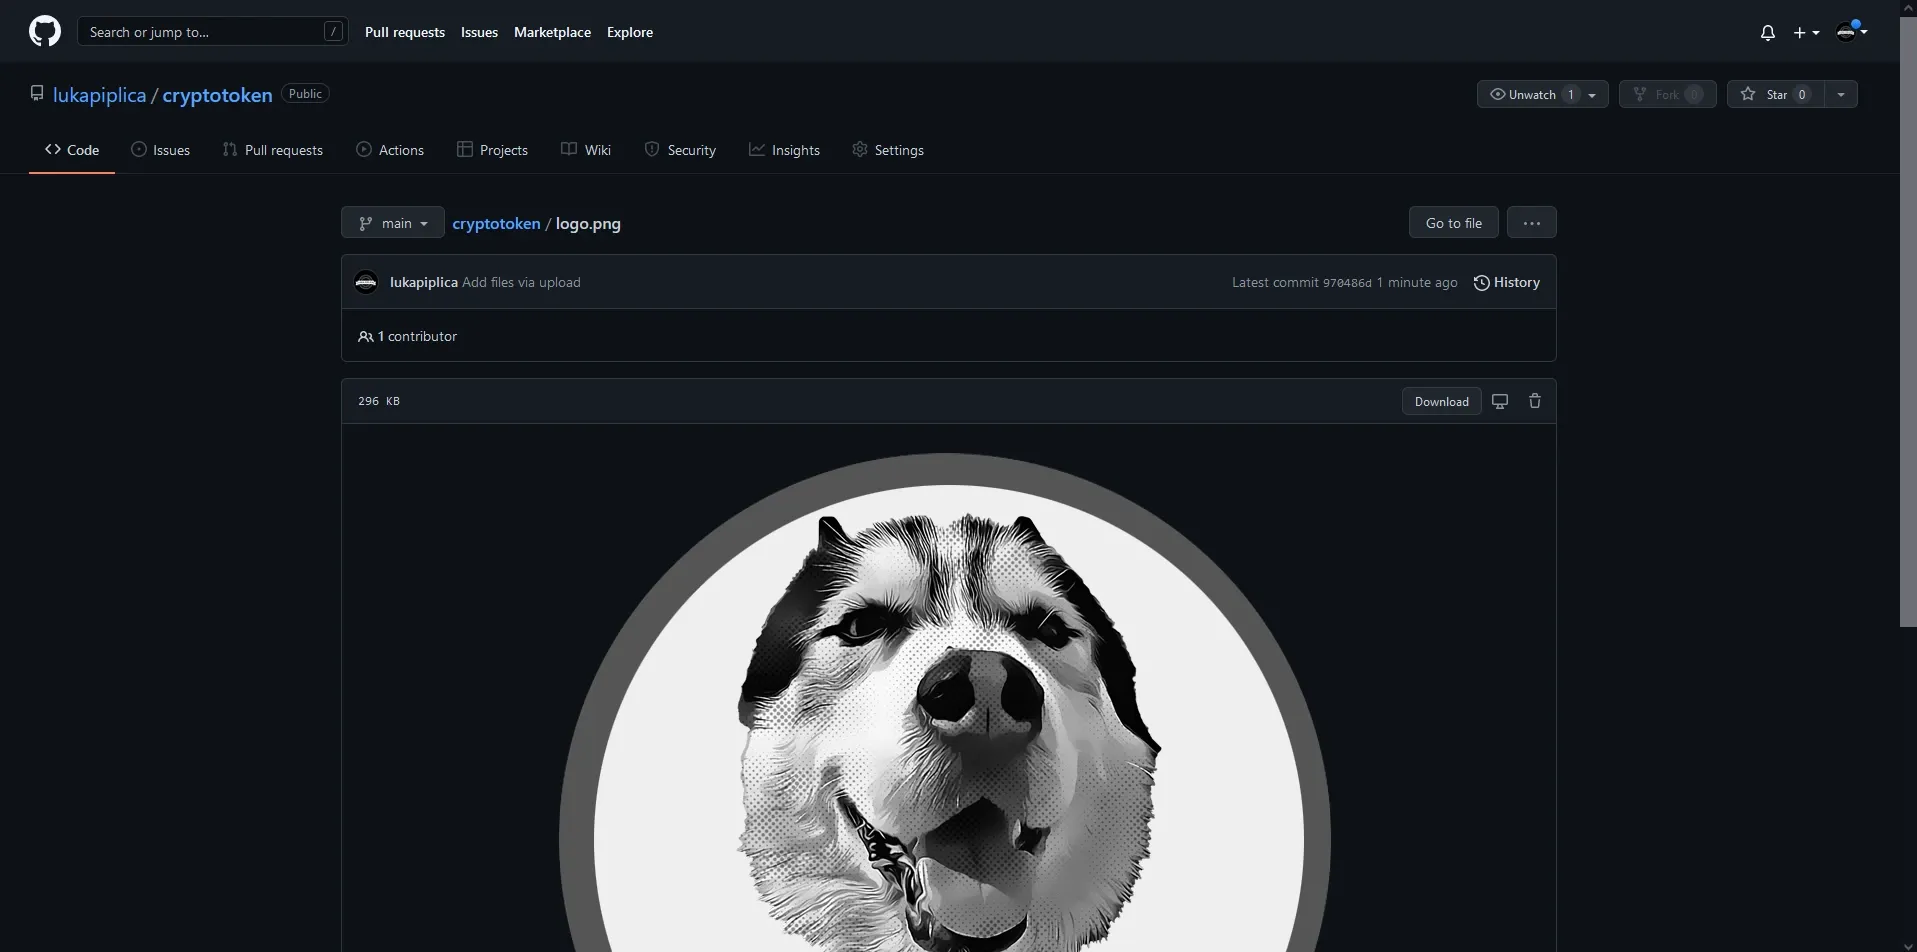
- Prepare a transparent PNG logo of your token (under 200KB).
- Create a GitHub account, host the asset in a public repository, and name it
logo.png:
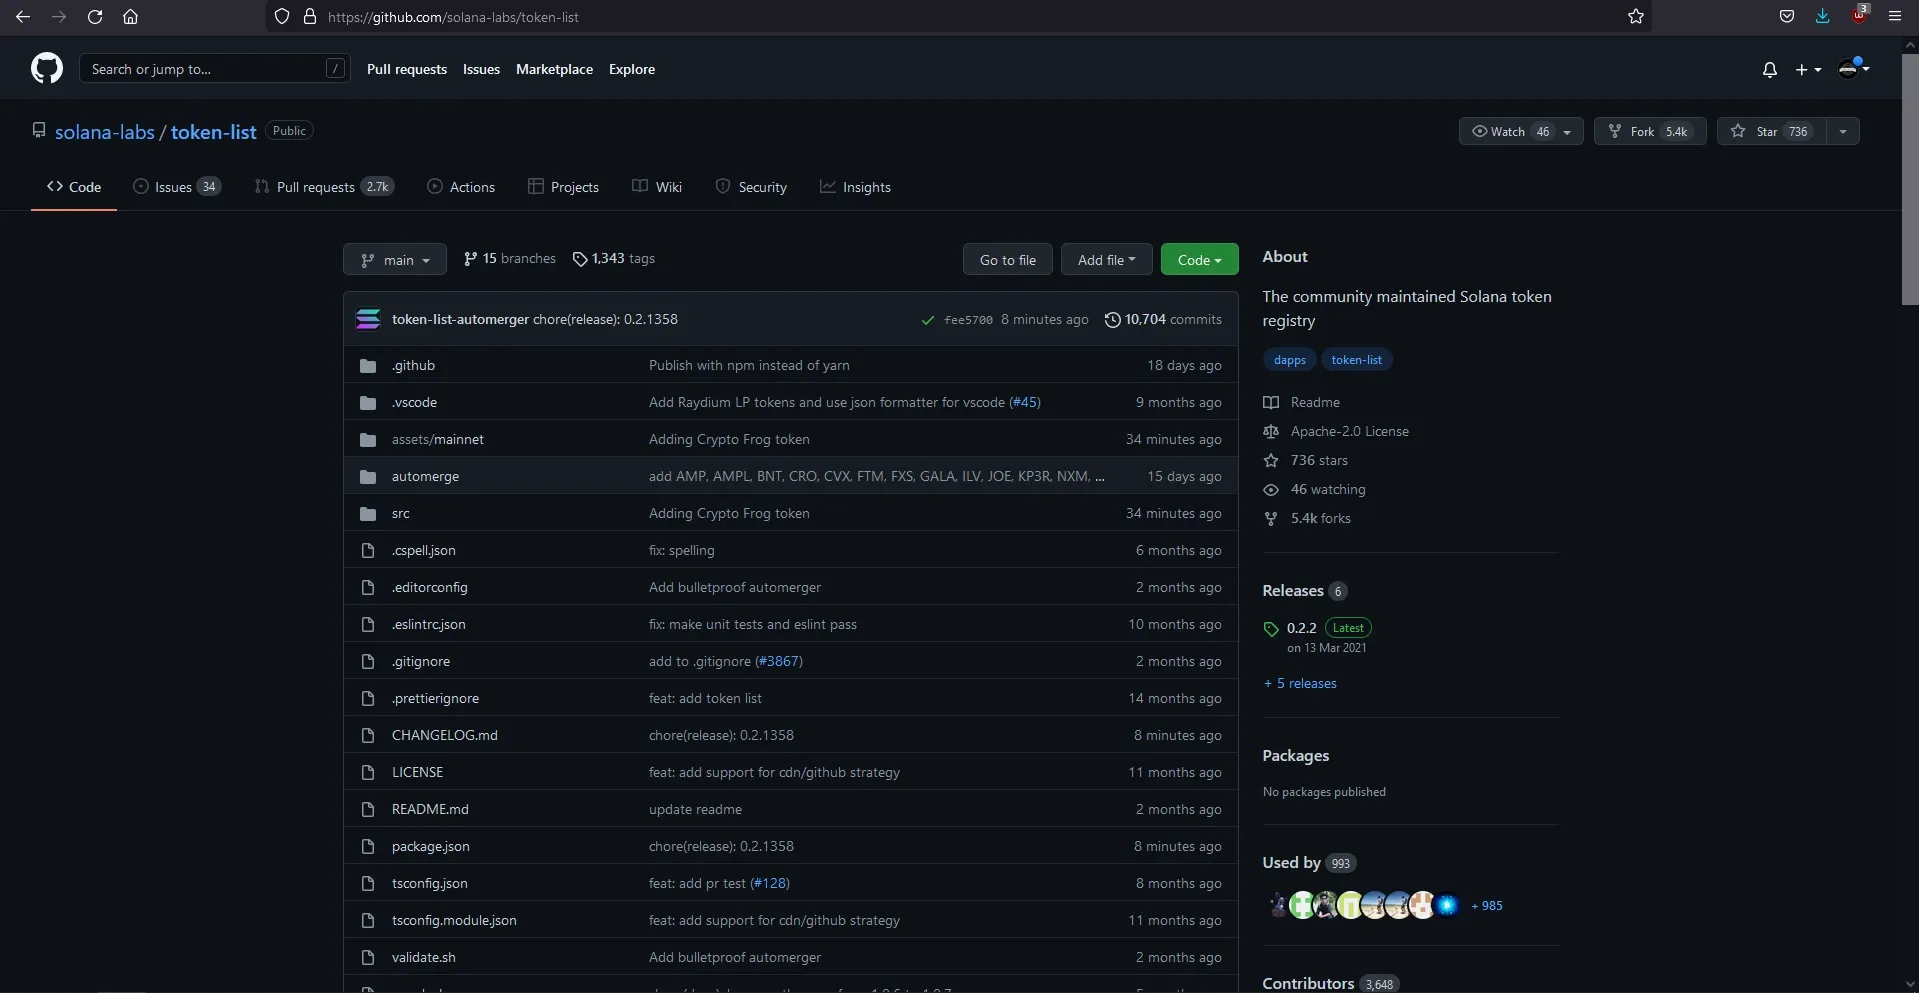
- Navigate to the official Solana Labs Token List Repository and click Fork:
- Press
.in your web browser inside the forked repository to launch Visual Studio Code Online:
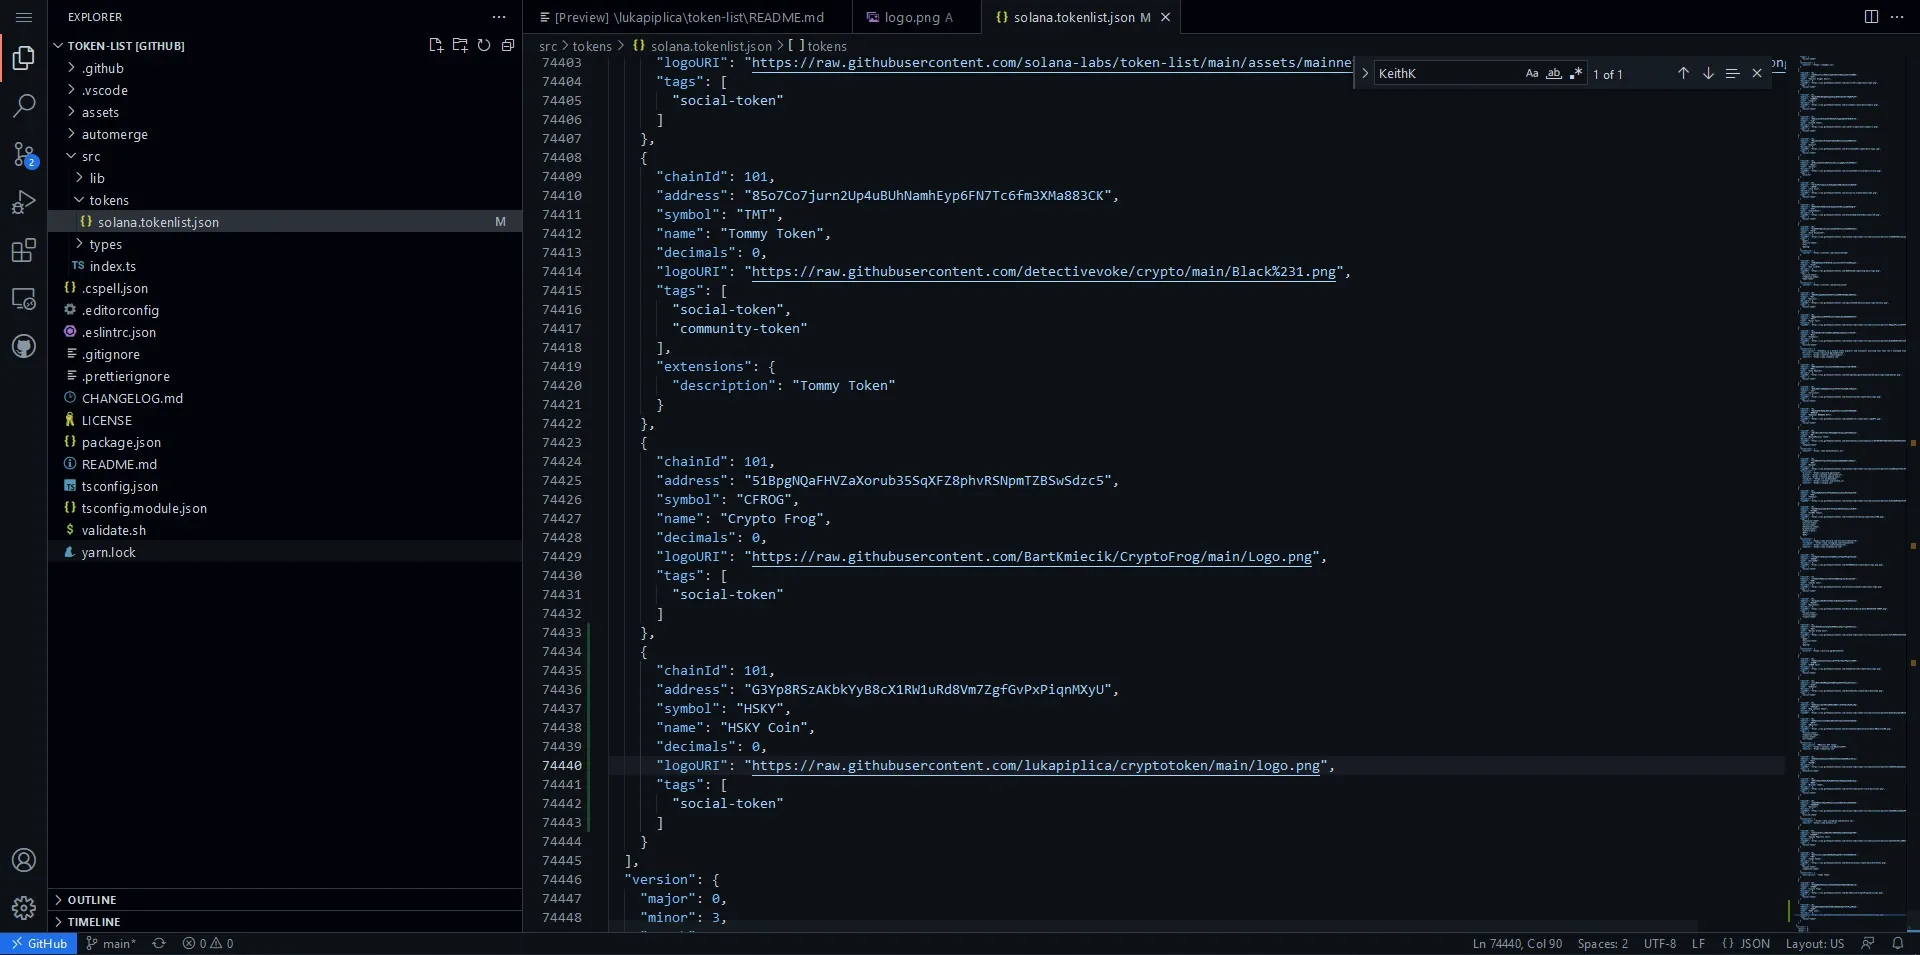
- Locate
assets/mainnet, create a sub-folder named after your Token ID, and upload yourlogo.png. - Navigate to
src/tokens/solana.tokenlist.json, append your token's metadata configuration block in JSON format, commit the changes, and submit a Pull Request (PR) to the parent Solana Labs repository.
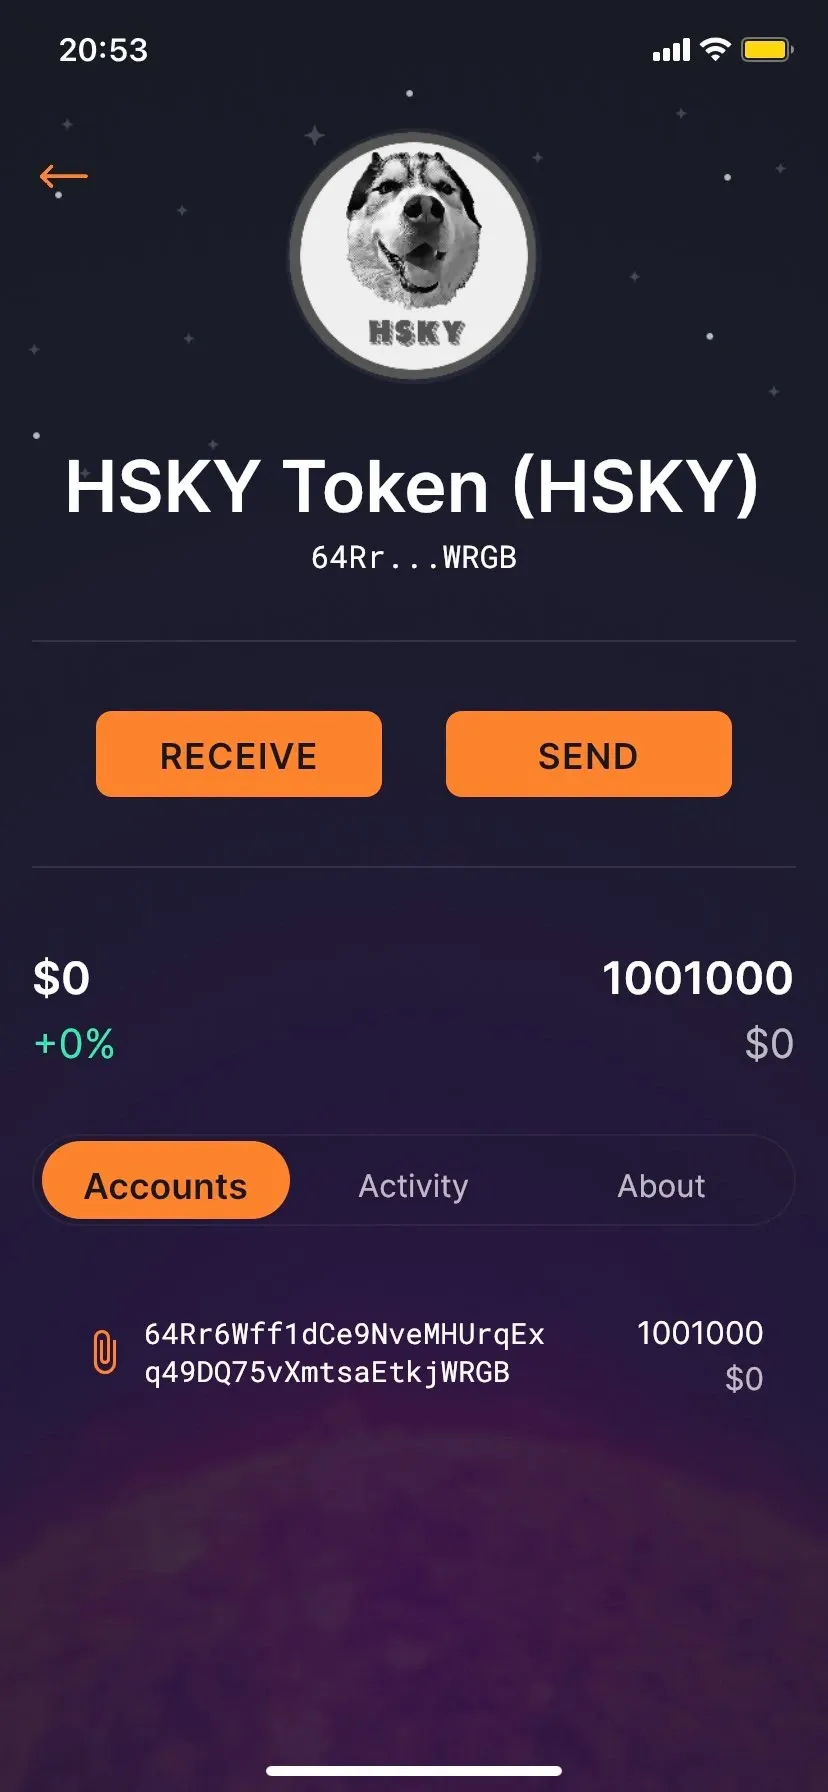
The Final Token Product
Once indexed, the HSKY token displays its custom name, supply, and logo seamlessly across decentralized web wallets:
Technical Glossary: Blockchain Integration Lexicon
| Term / Component | Technical Overview | Practical Operational Role |
|---|---|---|
| SPL Token | Solana Program Library token | The token standard governing custom fungible and non-fungible assets on the Solana blockchain. |
| Solana Tool Suite | Ledger interaction command-line client | Commands used to communicate directly with Solana RPC nodes, check balances, and query transaction logs. |
| Asymmetric Keypair | Public and private cryptographic key set | The core identity system on public networks. The public key is the address; the private key authorizes signatures. |
| Mnemonic Seed Phrase | 12-word BIP39 dictionary sequence | A human-readable representation of the private seed used to derive your cryptographic private keys. |
| Rust & Cargo | Memory-safe systems language and compiler | The developer runtime suite used to build high-performance smart contract binaries and tool suites. |
spl-token-cli | Rust-compiled token command suite | The specific command-line client used to deploy, mint, freeze, and transfer custom tokens. |
| Associated Token Account | Program-Derived Address (PDA) | A specific program account created on-chain to map a user's wallet address to a particular token mint. |
| Metaplex Protocol | On-chain metadata standard | The modern, decentralized smart contract standard used to mint, display, and manage NFT and fungible token metadata. |
| Solscan | Blockchain transaction explorer | A web-based ledger auditing tool used to visualize transactions, monitor gas usage, and verify token holders. |
Conclusion & Architectural Retrospective
Building a custom token directly from the CLI teaches key principles of decentralized ledgers, public key cryptography, and smart-contract runtime engines. While the legacy GitHub metadata pathway has been replaced by Metaplex’s modern on-chain program-derived metadata standard, the underlying cryptographic creation, minting lifecycle, and wallet structures of the Solana Program Library remain completely the same.
Deploying custom assets on decentralized ledgers showcases how modern public cryptography and systems automation enable seamless global financial tooling and permissionless engineering.